Halloween Nail Art Designs
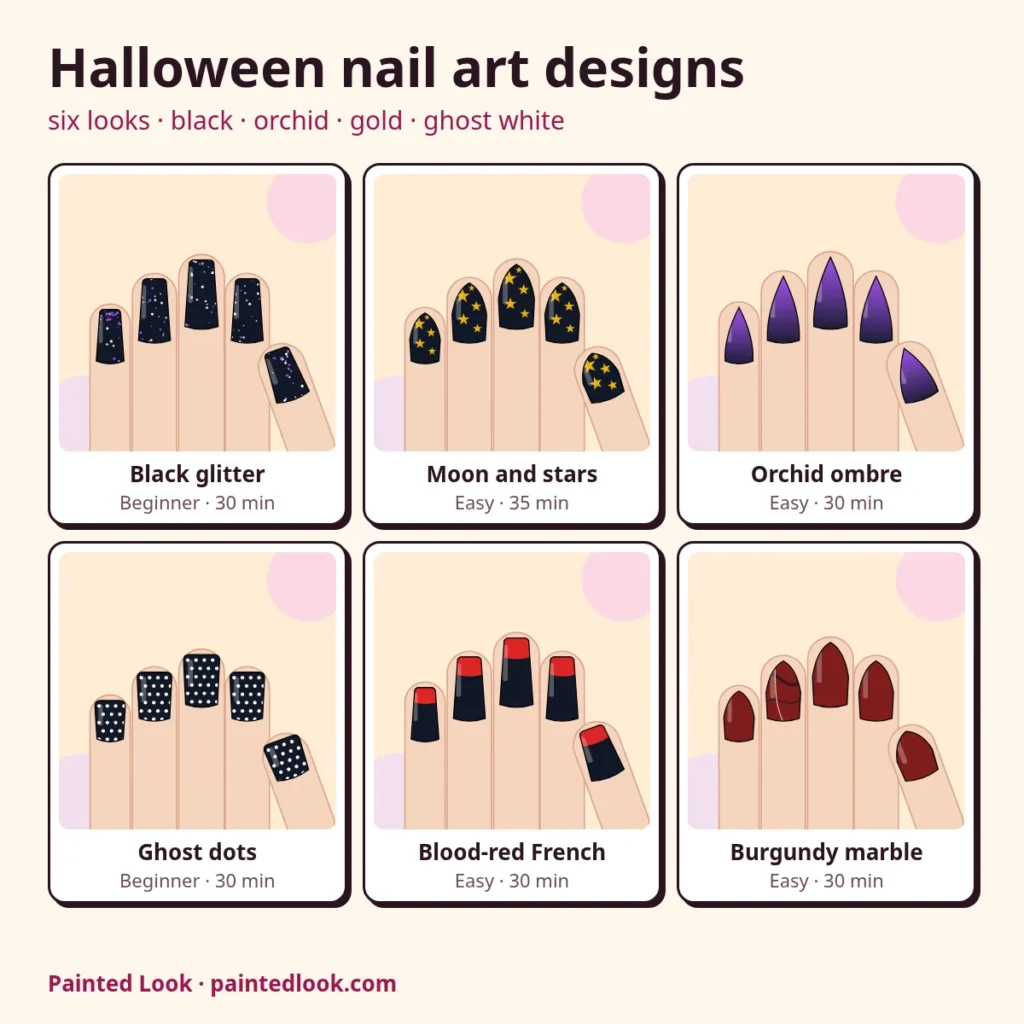
Halloween nail art designs use dark bases such as black and burgundy with accents like orchid purple, gold, white and blood red, in patterns such as glitter, stars, ombre and dots. Tap one of six looks to see its steps, level and time, then change the shape or the colors.
1 Nail shape
2 Base color
3 Pattern
4 Accent color and placement
Your design
You will need
Steps
Worked example: moon and stars
Tap “Moon and stars”. The studio paints almond nails in Black with Gold stars, and shows Easy and about 35 minutes: 20 minutes for a plain two-coat manicure with drying, plus 15 for the stars. The steps it gives are:
- File nails to a almond shape, push back cuticles and apply a thin base coat.
- Paint two coats of the base color and let them dry.
- Draw each star as a small plus and an X crossed on top, or use star stickers.
- Press gently, let dry, and seal with top coat.
- Finish with top coat and wrap the free edge.
You will need: base coat and top coat, black polish, gold polish, thin brush or star stickers, nail file for the almond shape, remover and cotton pads.
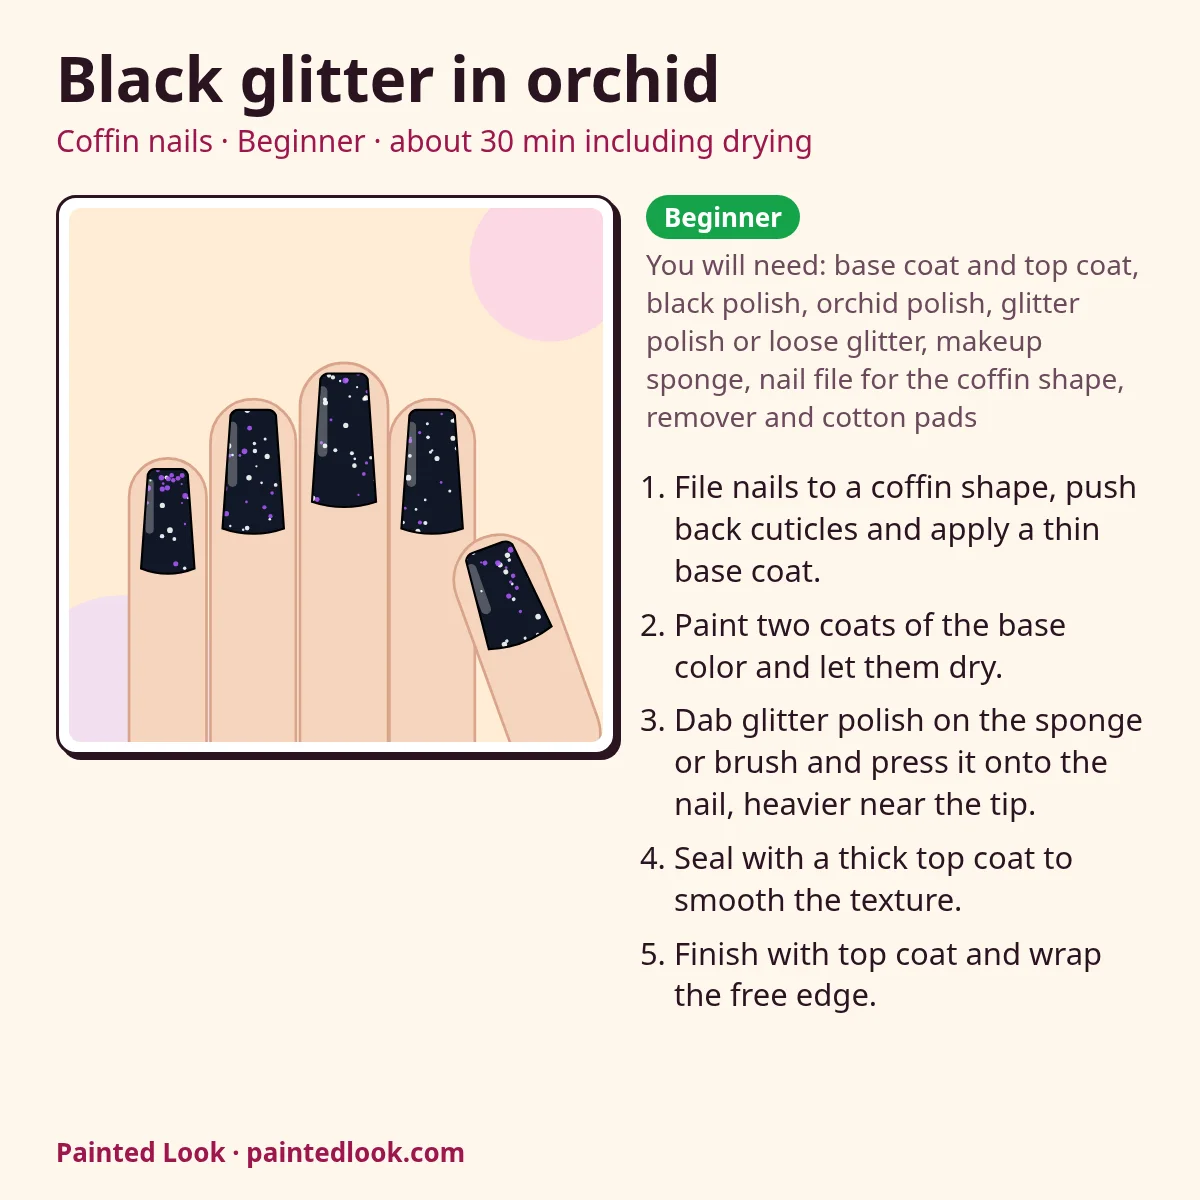
Six looks, their levels and times
| Look | Pattern | Level | About |
|---|---|---|---|
| Black glitter | Glitter | Beginner | 30 min |
| Moon and stars | Stars | Easy | 35 min |
| Orchid ombre | Ombre | Easy | 30 min |
| Ghost dots | Polka dots | Beginner | 30 min |
| Blood-red French | French tip | Easy | 30 min |
| Burgundy marble | Marble swirl (accent nail) | Easy | 30 min |
The level and the time are our own estimate for a first-time painter, worked out from the pattern.
Halloween colors that work
- Black: the base for most looks here, because glitter, stars and dots stand out on it.
- Orchid purple: softens black into an ombre or a glitter, and is the quickest way to get a witchy look.
- Blood red: a thin tip on black gives a French with a spooky edge.
- White: small white dots on black read as ghosts, or as eyes in the dark.
- Gold: stars and moons in gold look festive rather than scary.
Quick picks
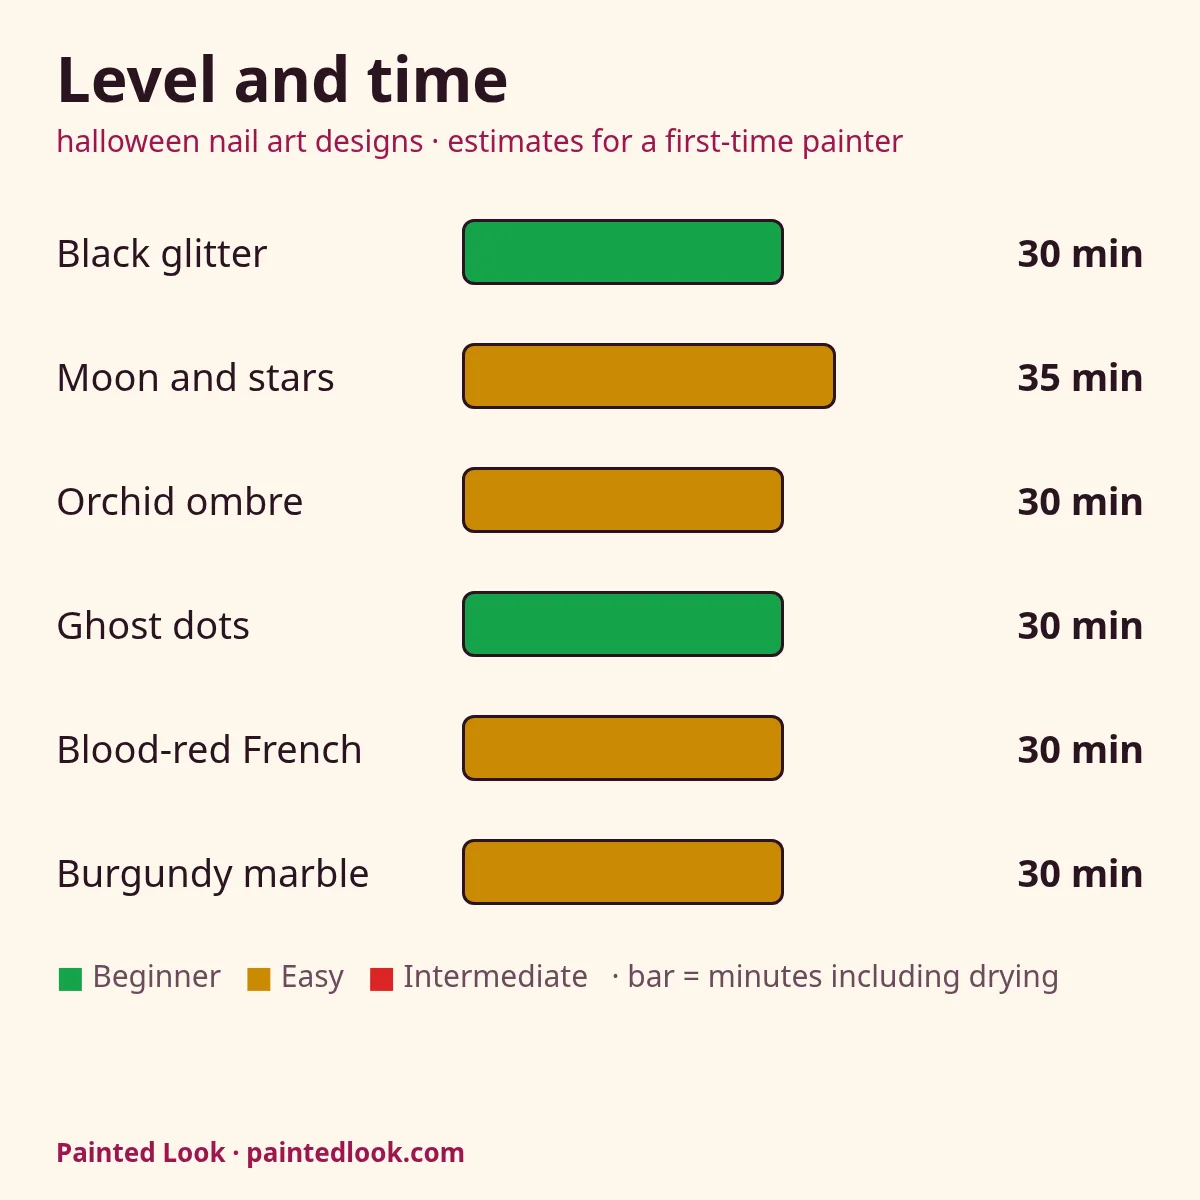
- Fastest: Black glitter and Ghost dots are Beginner level and about 30 minutes.
- Most dramatic: Orchid ombre on stiletto nails fades from black to purple toward the tip.
- Most detail: Burgundy marble is painted on the accent nail only, so you can add the veins slowly.
More looks are on the nail designs page.
How we checked it
On 22 October 2026 we tapped each of the 6 looks in Chrome and compared the level and the minutes with the studio rules for pattern difficulty: 6 looks, no differences. The recipe card prints on one page.
Skin and safety
Test a small patch of skin before you use a new polish or remover, work in a ventilated room and keep products away from eyes and cuts. Stop if your skin gets red, itchy or swollen. This is design inspiration, not medical advice; see the disclaimer.
Frequently asked questions
What colors are used for Halloween nails?
Black is the usual base, with orchid purple, gold, white and blood red as accents. The looks here use Black, Orchid, Gold, White and Cherry red.
Which Halloween nail design is easiest?
Black glitter and Ghost dots are Beginner level in the studio, about 30 minutes each.
How do I make ghost nails?
Paint two coats of black, let them dry fully, then press small white dots with a dotting tool or a toothpick, in rows. Finish with top coat.
Can I change a look?
Yes. After tapping a look, change the shape, the pattern or the colors, and the steps and time update.
Back to Painted Look nail art designs.
Did you love this look?
Tell us what worked or what needs a touch-up.
Thank you! Your note has been added to the palette.