Home › How to Use Painted Look
How to Use Painted Look
Painted Look Team · Updated · Patch-test new products on your skin first.
This guide shows how to use the nail art studio on Painted Look. Choose a nail shape, a base color and a pattern, check the drawn hand, then read the level, the time estimate and the steps for that look. The studio is free and needs no account.
Found a step that does not work? Use the contact page.
1 Nail shape
2 Base color
3 Pattern
4 Accent color and placement
Your design
You will need
Steps
Pick a shape, colour and pattern
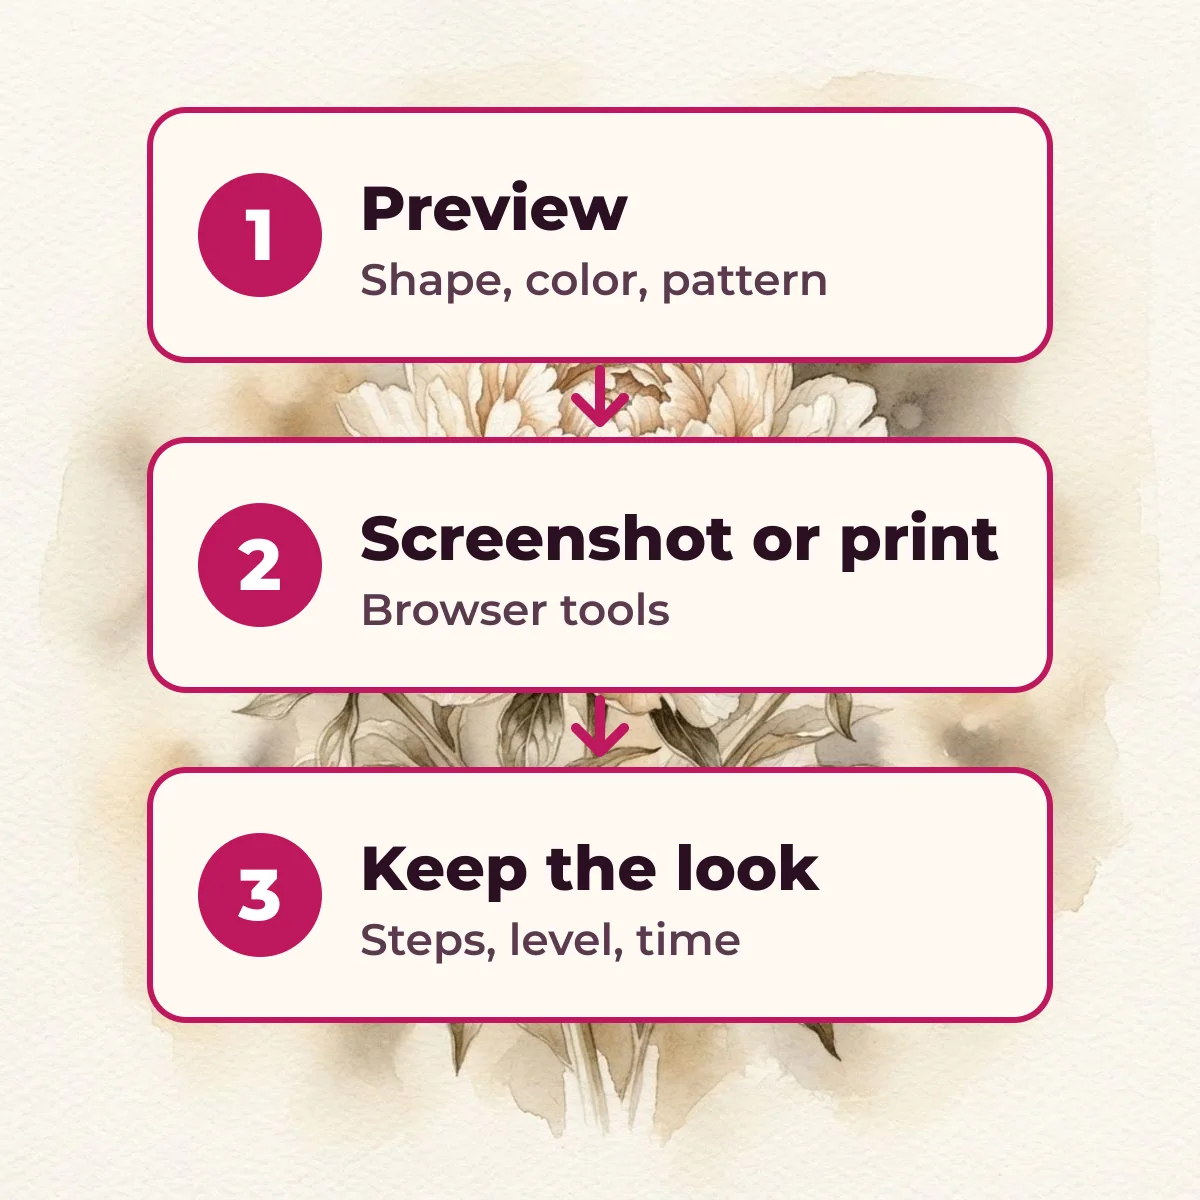
Open the studio on the home page or any design page, then choose a nail shape, a base color and a pattern.
The studio offers 5 nail shapes, 16 polish colors and 11 patterns, plus an accent color. The pattern can go on every nail or on the accent nail only.
Preview, then follow the steps
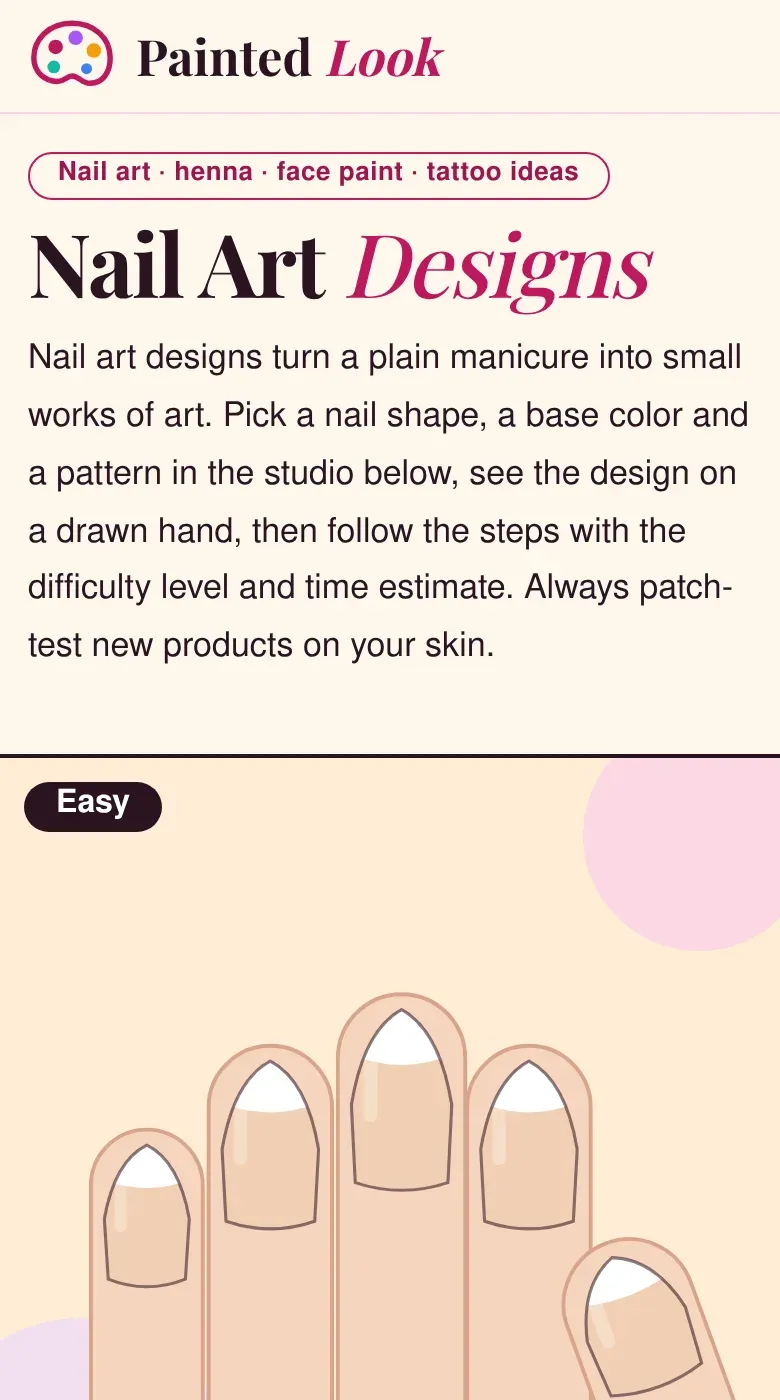
The drawn hand shows the look; below it, the steps list the tools, level and time for that design.
| Page | What you choose | What the studio shows |
|---|---|---|
| Home | Any shape, color and pattern | Drawn hand, steps, level and time |
| Acrylic nail designs | One of 6 ready looks, or your own mix | Drawn hand, steps, level and time |
| Almond nail art designs | One of 6 ready looks, or your own mix | Drawn hand, steps, level and time |
| Toenail nail art designs | One of 6 ready looks, or your own mix | Drawn hand, steps, level and time |
| Halloween nail art designs | One of 6 ready looks, or your own mix | Drawn hand, steps, level and time |
Saving and sharing a look
Use the browser’s screenshot or print to keep a preview of a look you like. The studio also has a Print card button and a Copy recipe button for the steps.
Previews are drawings; real polish colours look different on each nail and in each light.